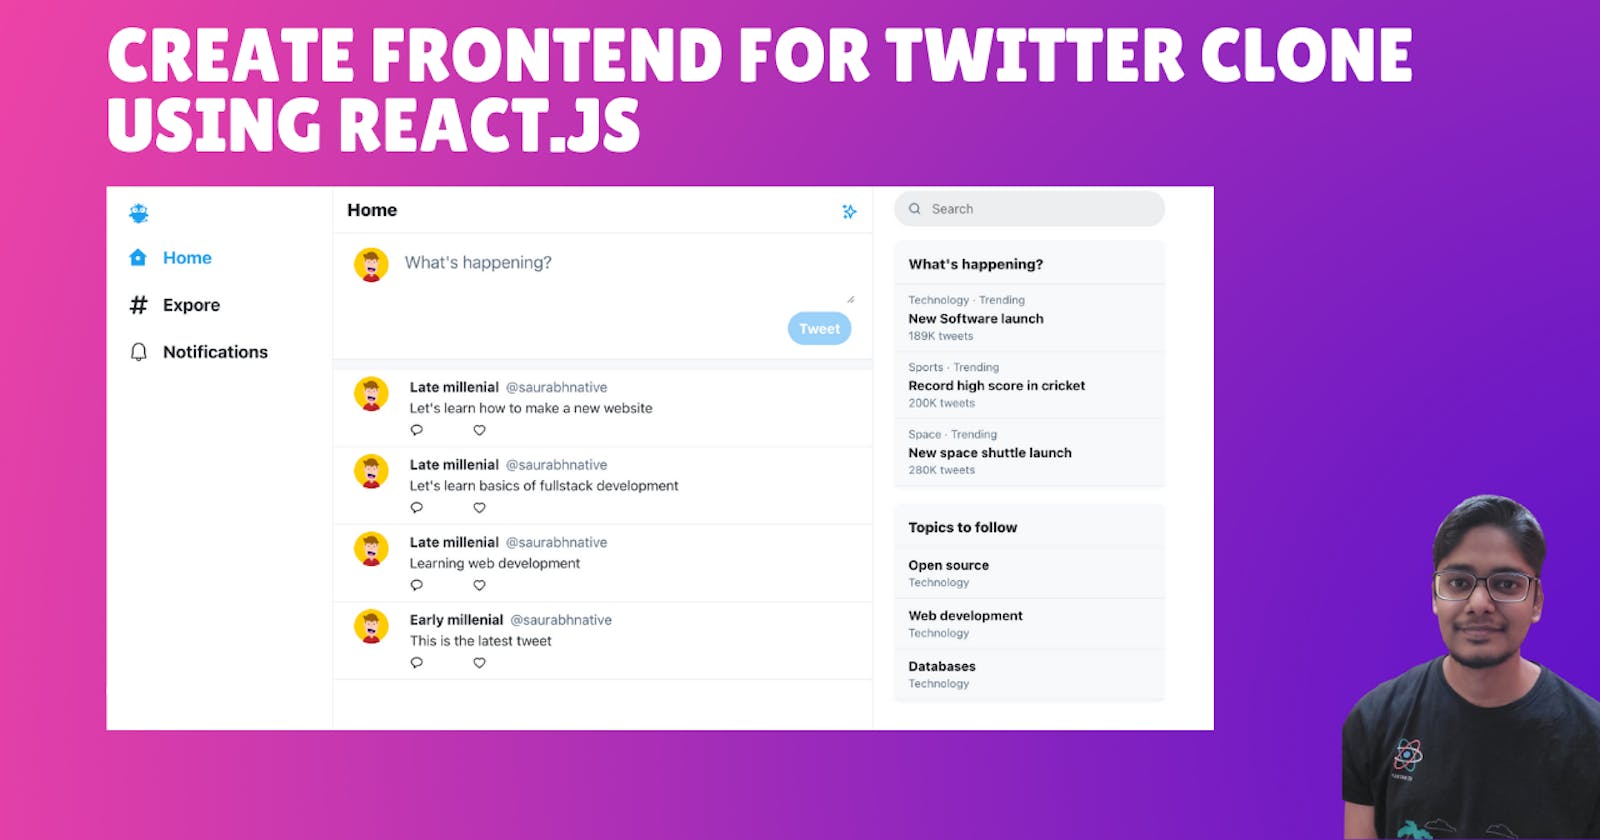
Hello everyone, so today we are going to build a Twitter clone using React.js. I've created a design for Twitter clone using Figma as shown below:-
In the first part of this article series, we built the backend for the website using Node.js and HarperDB which you can refer to here:- Backend for Twitter Clone
Now let's start our frontend part by creating a new react project using create-react-app module:-
npx create-react-app twitterCloneFrontend
We first create basic components for the Center section as well as the left and right sidebar. The basic component can be added in a new components folder within the src folder. For the central component we can add the below sample code:-
import React from "react";
export default function CentralComponent() {
   return (
    <div className="central-component">
    Central component data
    </div>
}
We can follow a similar naming convention for left and right sidebar components as well. Next, we import all the three components in the App.js file using the code shown below:-
import "./App.css";
import LeftSideBar from "./components/LeftSideBar";
import CentralComponent from "./components/CentralComponent";
import RightSideBar from "./components/RightSideBar";
function App() {
  return (
    <div className="App d-flex">
      <LeftSideBar />
      <CentralComponent />
      <RightSideBar />
    </div>
  );
}

export default App;
Let's start building our left sidebar component first. Since we need to use icons for our sidebar, we will install the react-icons module in our project. We also need to install bootstrap as our primary CSS library and Axios for making API requests:-
yarn add react-icons bootstrap axios
The code for the left sidebar component can be seen here:-
We have rendered the top site icon and menu items using the renderMenuItems function.
Similarly, for the right sidebar we have created a dummy search input, trending categories and topics to follow in the right sidebar:-
The central section contains a combination of a few child components as added below:-
We first render the header using the renderHeader function:-
import { HiOutlineSparkles } from "react-icons/hi";
....
function renderHeader() {
    return (
      <div className="header d-flex align-items-center px-3 fs-5">
        <div>Home</div>
        <div className="ms-auto star-icon">
          <HiOutlineSparkles />
        </div>
      </div>
    );
  }
Next, we have TweetBoxComponent in which the user can publish the tweet:-
On click of the Tweet button, we send the tweet data to the backend server using the sendTweet function:-
....
const [tweetText, setTweetText] = useState("");
const [isPublishingTweet, setIsPublishingTweet] = useState(false);
async function sendTweet() {
    try {
      setIsPublishingTweet(true);
      const sendTweetResponse = await axios.post(
        `${process.env.REACT_APP_SERVER_URL}/tweets/add`,
        {
          tweet: tweetText,
          userHandle: "saurabhnative",
          userName: "Late millenial",
          isLiked: false,
        }
      );
      console.log("sendTweetResponse", sendTweetResponse);
      setIsPublishingTweet(false);
      fetchTweets();
      setTweetText("");
    } catch (err) {
      console.log("error", err);
    }
  }
The backend APIs for this function were created in the previous part. We can create a .env file with REACT_APP_SERVER_URL variable as shown in docs below:-
In the CentralComponent.js file, the last part is for showing tweets saved on the server using the PublishedTweet component shown below:-
We fetch data for this component using the fetchTweets function in the CentralComponent.js file:-
const [tweetsArray, setTweetsArray] = useState([]);
  async function fetchTweets() {
    try {
      const response = await axios.get(
        `${process.env.REACT_APP_SERVER_URL}/tweets/getAll`
      );
      const tweetsArray = response.data.results;
      if (tweetsArray) {
        setTweetsArray(tweetsArray);
      }
    } catch (error) {
      console.log("error", error);
    }
  }
  useEffect(() => {
    fetchTweets();
  }, []);
This finishes the explanation of the frontend part of our application. You can view the complete source code for the project on Github below:-
The working preview of the application can be seen below:-
I hope you found the article useful. I create content about building web applications and general programming. If this is something that interests you, please share the article with your friends and connections. You can also subscribe to my newsletter or follow me to get updates every time I write something!
Thank you for reading, if you have reached till here, please like the article. It will encourage me to write more such articles in future. Do share your valuable suggestions, I appreciate your honest feedback!
I would love to connect with you on Twitter | Instagram.
See you in my next article, Take care!
