Build stories feed app using react.js - Part 3

Hello curious stranger on the internet, today we are going to continue the process of building a story feed app using react.js. Here is the updated demo of the app once we have made all changes today:-
In part 3, we are going to build another version of the stories UI, create a credits section and deploy our website to Netlify.
So let's get started... In the first step, we will update the storiesData.js file with another variation of story object which will have title, text and image:-
const storiesData = {
....
entertainment: [
    {
      title: "The first modern headphones were produced in the kitchen",
      text: `Nathaniel Baldwin made the first modern headphones...`,
      image: `cloudinary-image-url`,
      bgColor: "#000000",
      type: "titleImageTextPost",
    },
  ],
}
Next, we update the getStoriesObject method in the StoriesComponent.js file as shown below:-
function getStoriesObject() {
    const category = match.params.categoryName;
    const stories = StoriesData[category].map((item) => {
      if (item.type === "imageCaptionPost") {
        ....
      } else if (item.type === "titleImageTextPost") {
        return {
          content: (props) => (
            <div
              className="story-container h-screen w-screen bg-center bg-no-repeat bg-black text-white font-bold flex items-start justify-center"
              style={{ backgroundColor: item.bgColor }}
            >
              <div className="max-w-screen-md flex items-center justify-center flex-col">
                <div className="mt-10 text-x">
                  <span>{item.title}</span>
                </div>
                <div className="flex flex justify-center items-center mt-2 text-story-image-container>
                  <div>
                    <img
                      src={item.image}
                      alt="stories"
                      className="h-6/12"
                    />
                  </div>
                </div>
                <div className="mt-6 caption text-lg text-left mx-3 max-w-screen-md">
                  <span className="whitespace-pre-wrap">{item.text}</span>
                </div>
              </div>
            </div>
          ),
        };
      } else {
        return null;
      }
    });
    return stories;
  }
Once this change is added we will be able to see another variation of stories UI as shown below:-

Next, we are going to add a credits section.
Let's create a CreditsComponent.js file in the src folder.
The we add an info icon in the header tag used in the Home.js file with a state variable to handle credit pop up opening status:-
import React, { useState } from "react";

export default function Home() {
  // state variable to track credit pop up visibility
  const [isCreditsPopUpOpen, setCreditsPopUpOpen] = useState(false);
  ...
  return (
    <div>
      <div className="header text-white flex justify-center items-center text-3xl font-bold">
        <div>Stories Feed</div>
        <div
          className="fixed top-3 right-4 cursor-pointer"
          onClick={() => setCreditsPopUpOpen(true)}
        >
          <i className="material-icons text-4xl">info</i>
        </div>
      </div>
      <div className="flex justify-center items-center">
        <div className="grid grid-cols-3 w-screen flex justify-center items-center max-w-screen-md">
          {renderCategoryItem()}
        </div>
      </div>
      {isCreditsPopUpOpen ? (
        <CreditsComponent setCreditsPopUpOpen={setCreditsPopUpOpen} />
      ) : null}
    </div>
  );
}
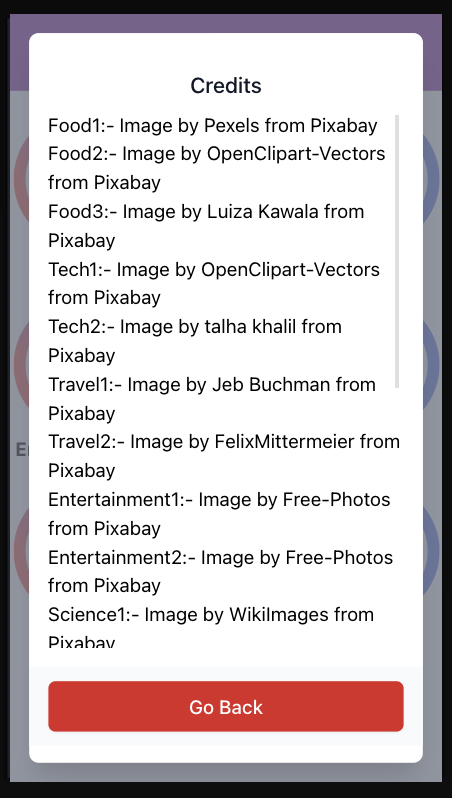
The complete code for the credits component is quite long but easy to understand. You can find the complete code for the component here:- https://github.com/codeclassifiers/storiesfeedapp/blob/main/src/components/CreditsComponent.js
Make sure to update the renderCreditItems() function as per the images used in your application.
Now we will be able to see credits pop up on clicking the info icon as shown below:-
The final step of deploying this application to netlify can be done next. You can either deploy the application using CLI command as shown in the guide below:-
https://www.netlify.com/blog/2016/07/22/deploy-react-apps-in-less-than-30-seconds/
Or push your code to GitHub and connect to your repo to Netlify using the below guide:-
https://www.netlify.com/blog/2016/09/29/a-step-by-step-guide-deploying-on-netlify/
You can refer to the video below to understand this entire process in much more detail:-
That finishes our series on building stories feed application. Kindly upvote the article series if you liked it and follow me for more such articles in future.
Good bye and have a nice day.


