Build stories feed app using react.js - Part 2

Hello curious stranger on the Internet, today we are going to continue building our stories feed application. The updated demo of the application can be seen below:-
If you haven't covered part 1 yet, check it out in this article:- Part 1
Continuing from the last part, our first task today is to add all the category items in our feed. For that, we are going to create an external JSON object and import it into the Home.js file. Create a new file in the location src/dataSource named categories.js with the below data:-
const categoryItems = [
  {
    name: "Tech",
    iconName: "computer",
  },
  {
    name: "Travel",
    iconName: "map",
  },
  {
    name: "Food",
    iconName: "restaurant",
  },
  {
    name: "Entertainment",
    iconName: "live_tv",
  },
  {
    name: "Science",
    iconName: "poll",
  },
  {
    name: "Fitness",
    iconName: "fitness_center",
  },
  {
    name: "Education",
    iconName: "school",
  },
  {
    name: "Gaming",
    iconName: "videogame_asset",
  },
  {
    name: "Social",
    iconName: "comment",
  },
];

export default categoryItems;
This file contains the category name along with the icon related to the category. Next, import it at the top of Home.js as shown below:-
import React from "react";
import "./Home.css";
import categoryItems from "../dataSource/categories"; // category object imported here
Next, modify the renderCategoryItem and return function in Home.js as shown below:-
export default function Home() {
function renderCategoryItem() {
// categoryItems used as source to render items
return categoryItems.map((categoryItem) => {
return (
<div
className="flex justify-center items-center flex-col mt-4"
key={categoryItem.name}
>
<div className="category-outer-circle flex justify-center items-center">
<div className="category-inner-circle flex justify-center items-center">
<i className="material-icons text-4xl">{categoryItem.iconName}</i>
</div>
</div>
<div className="font-bold">{categoryItem.name}</div>
</div>
);
});
}
// grid and grid-cols-3 classes from tailwind are used to render items in 3 column grid
return (
<div>
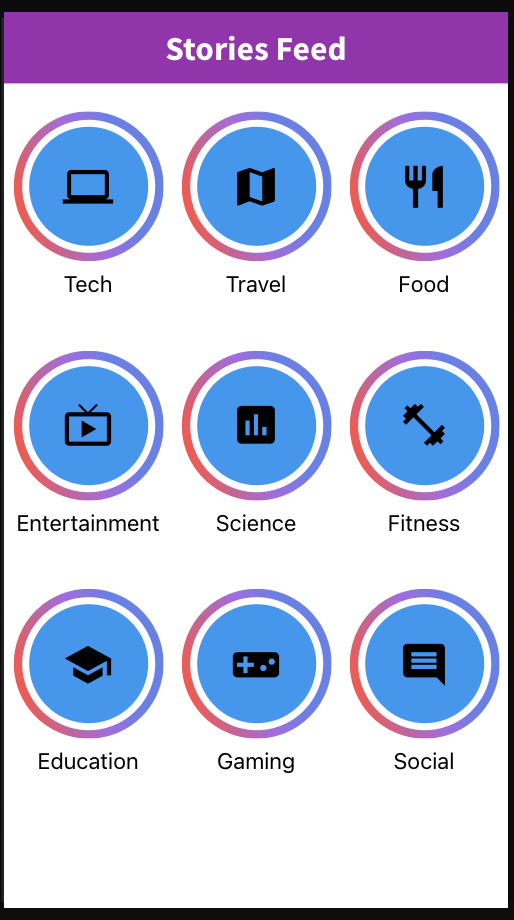
<div className="header text-white flex justify-center items-center text-3xl font-bold">
Stories Feed
</div>
<div className="grid grid-cols-3">{renderCategoryItem()}</div>
</div>
);
}
At this point, our homepage will have categories in a grid as shown below:-
We need to add react-router-dom npm module to our project for handling routes by running the below command:-
npm install --save react-router-dom
Next, we need to add logic to redirect the user to the story route on click of category as shown below:-
import React from "react";
import "./Home.css";
import categoryItems from "../dataSource/categories";
import { useHistory } from "react-router-dom"; // import useHistory Hook

export default function Home() {
  const history = useHistory();
  // function to redirect user to story page
  function redirectToStory(categoryItem) {
    history.push(`/story/${categoryItem.name.toLowerCase()}`);
  }
  function renderCategoryItem() {
    return categoryItems.map((categoryItem) => {
    // onClick handler added to redirect on item click
      return (
        <div
          className="flex justify-center items-center flex-col mt-4"
          key={categoryItem.name}
          onClick={() => redirectToStory(categoryItem)}
        >
          ....
        </div>
      );
    });
  }
....
Now we need to create a StoriesComponent.js in the src/components folder with some temporary code:-
import React from "react";
export default function StoriesComponent() {
return (
    <div>
      Stories component to be added here
    </div>
  );
}
We need to modify the App.js file in the src folder as shown below to handle the Home and Story route:-
import "./App.css";
import { BrowserRouter as Router, Switch, Route } from "react-router-dom";

import Home from "./components/Home";
import StoriesComponent from "./components/StoriesComponent";
// :categoryName is used in story route in order to get category name in stories later
function App() {
  return (
    <div className="App">
      <Router>
        <Switch>
          <Route path="/story/:categoryName">
            <StoriesComponent />
          </Route>
          <Route path="/" exact>
            <Home />
          </Route>
        </Switch>
      </Router>
    </div>
  );
}

export default App;
To show images as stories to the user, we are going to use react-insta-stories npm module. So let's install it by running the below command:-
npm install --save react-insta-stories
I have downloaded sample images needed for our stories from Pixabay website and then uploaded the image to cloudinary website.
For showing our stories, we will first create a file in the src/dataSource folder named storiesData.js with the below format:-
const storiesData = {
  food: [
    {
      type: "imageCaptionPost",
      backgroundImageUrl: "cloudinary-image-url-here",
      caption: "Delicious",
      captionColor: "white",
    },
    {
      type: "imageCaptionPost",
      backgroundImageUrl: "cloudinary-image-url-here",
      caption: "Yummy",
      captionColor: "white",
    },
  ],
};

export default storiesData;
Next import the storiesData.js file and react-insta-stories in our Stories Component file:-
import React from "react";
import { useRouteMatch } from "react-router-dom";
import Stories from "react-insta-stories";
import StoriesData from "../dataSource/storiesData";
We have also imported useRouteMatch hook from react-router-dom for reading the category from the URL of the page.
Now we can render our stories in the component by using the below code:-
....
import StoriesData from "../dataSource/storiesData";
export default function StoriesComponent() {
  // match is used to get categoryName from URL
  let match = useRouteMatch();
  function renderStories() {
    const categoryName = match.params.categoryName;
// render stories as per category received in route
    const stories = StoriesData[categoryName].map((storyItem) => {
      return {
        content: ({ action, isPaused }) => {
          return (
            <div
              className="w-screen h-screen"
              style={{
                backgroundImage: `url(${storyItem.backgroundImageUrl})`,
              }}
            >
              <div
                className="text-4xl text-white mt-5 font-bold"
                style={{ color: storyItem.captionColor }}
              >
                <span>{storyItem.caption}</span>
              </div>
            </div>
          );
        },
      };
    });
    return stories;
  }
  return (
    <div>
      <Stories loop stories={renderStories()} />
    </div>
  );
}
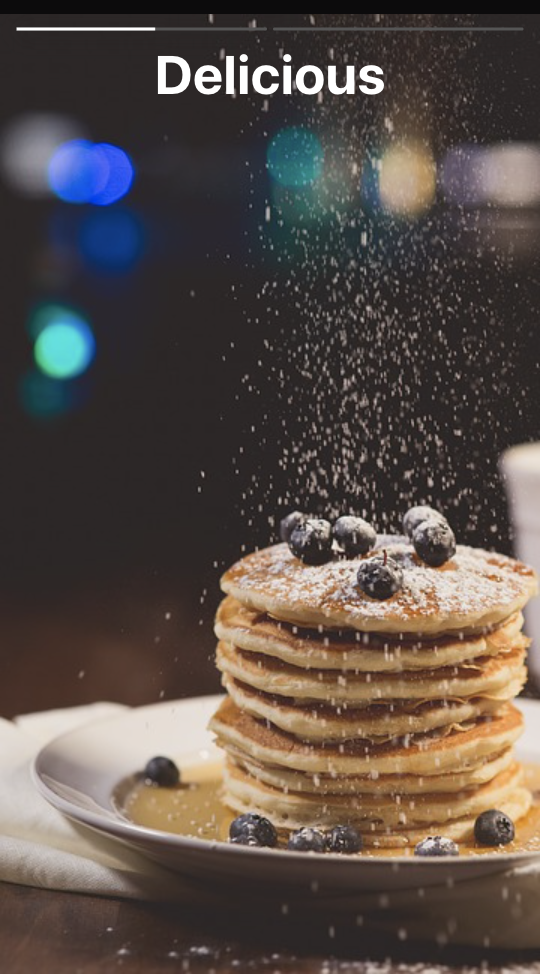
Once this is done you will be able to see the stories UI in the app as per your own images as shown below:-
Phew...This finishes the second part of this series. If you get stuck at any part of this article, you can refer to this video tutorial which covers the entire process in much more detail:-
In the next part, we are going to build another way of showing stories, add some animations and improve the code/UI further.
If you found this video useful then upvote it and follow me to get notified about the next part in the series.


