Build stories feed app using react.js - Part 1

Hello curious stranger on the internet, today we are going to build a stories feed app using react.js. The demo for the app can be seen below:-
The Figma design for this app can be found here:- https://www.figma.com/file/nRPQGsD80AAPsBHCvaecqr/Stories-UI
We are going to use create-react-app for setting up our application. Once the app is set up, we will add tailwindcss to the project for responsive design by running the below command:-
npm install tailwindcss
Next import the tailwind library in index.js file in our app:-
import ReactDOM from "react-dom";
import "./index.css";
import App from "./App";
import reportWebVitals from "./reportWebVitals";
import "tailwindcss/dist/tailwind.css";  // tailwind imported here
ReactDOM.render(
  ....
);
Next, we can start building our home page by creating a Home.js and Home.css file in the src/components folder.
First we will build the Header part of the Home page by adding the below code in Home.js file:-
import React from "react";
import "./Home.css"; // import Home.css here
return (
    <div>
      <div className="header text-white flex justify-center items-center text-3xl font-bold">
        Stories Feed
      </div>
    </div>
  );
We have used some classes from tailwind to style the header div. Next, let's add custom styling for the header in Header.css file:-
.header {
  height: 10vh;
  background: #9c27b0;
  font-family: "Source Sans Pro", sans-serif;
}
Since we will need a new font(Source Sans Pro) for the Header file, we need to import it in the index.css file of our application:-
@import url("https://fonts.googleapis.com/css2?family=Source+Sans+Pro:wght@400;700&display=swap");
body {
  margin: 0;
  font-family: "Source Sans Pro", sans-serif;
  -webkit-font-smoothing: antialiased;
  -moz-osx-font-smoothing: grayscale;
}
You can find more details about this font here:- https://fonts.google.com/specimen/Source+Sans+Pro
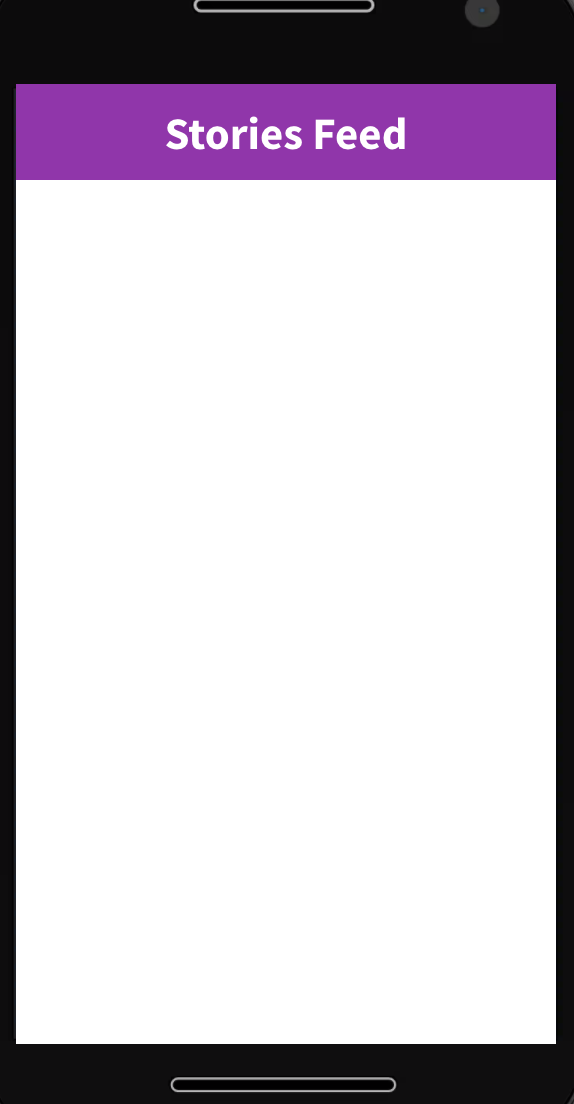
Once done with these changes you now see the header part in the app as shown below:-
Next, we can start adding category item in our home page as a separate function as shown below:-
Home.js file changes:
import React from "react";
import "./Home.css";
export default function Home() {
  // function to render individual category item
  function renderCategoryItem() {
      return (
        <div className="flex justify-center items-center flex-col">
          <div className="category-outer-circle flex justify-center items-center">
            <div className="category-inner-circle flex justify-center items-center">
              <i class="material-icons text-4xl">computer</i>
            </div>
          </div>
          <div className="font-bold">Tech</div>
        </div>
      );
  }
  return (
    <div>
      <div className="header text-white flex justify-center items-center text-3xl font-bold">
        Stories Feed
      </div>
      <div>{renderCategoryItem()}</div>
    </div>
  );
}
Changes in Home.css file:-
.category-inner-circle {
  width: 95px;
  height: 95px;
  background: #2196f3;
  border-radius: 50%;
  border: 4px solid white;
}

.category-outer-circle {
  width: 115px;
  height: 115px;
  border-radius: 50%;
  background-image: linear-gradient(
    253.4deg,
    rgba(64, 93, 230, 0.8) 31.1%,
    rgba(147, 60, 219, 0.79) 51.28%,
    rgba(193, 53, 132, 0.81) 69.63%,
    rgba(253, 29, 29, 0.83) 86.15%
  );
  background-origin: border-box;
  background-clip: content-box, border-box;
}
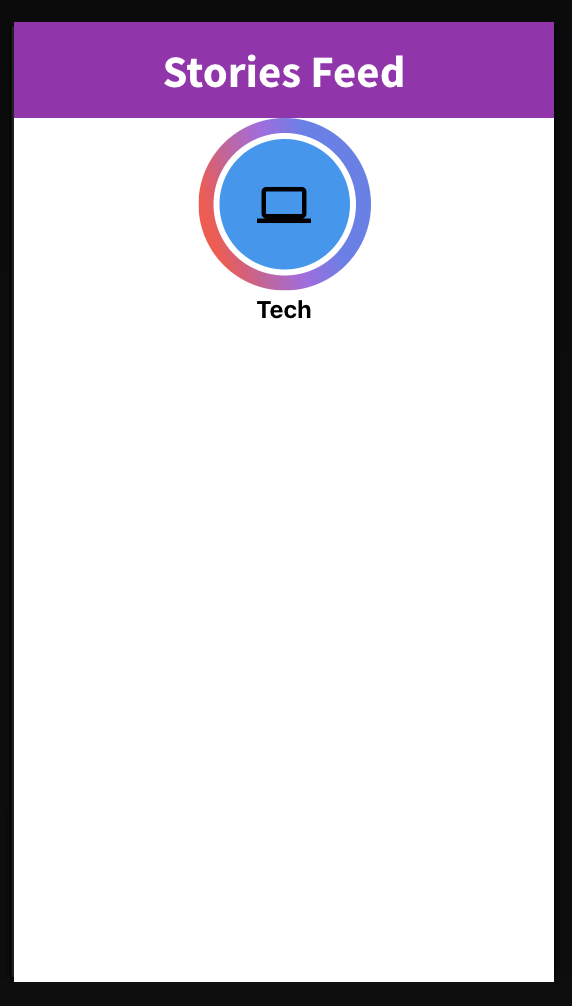
Once this is done you can see a single category Item on your Homepage as shown below:-
That's it for part 1 in this series. You can view the changes in much more detail from the youtube tutorial below:-
We will continue building the UI for the app in the next part as well. If you found this article useful, feel free to upvote it.


